
The Windows Server License Schools Can Count On
When managing IT infrastructure, choosing the right licensing model can make a big difference in cost, control, and flexibility. For many schools, ...
When managing IT infrastructure, choosing the right licensing model can make a big difference in cost, control, and flexibility. For many schools, ...
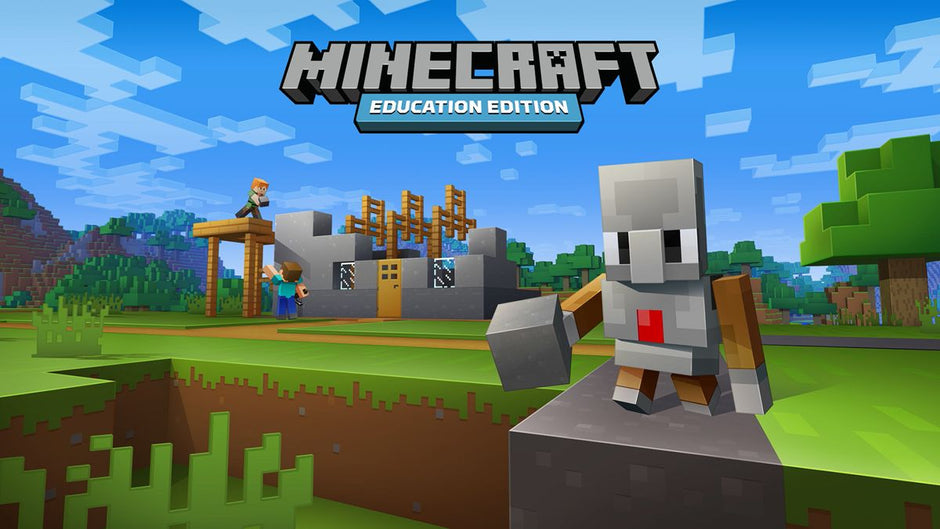
Everybody loves Minecraft. That’s why it’s the bestselling game of all time. With its game-based learning platform that currently supports educator...

In a world where creativity, collaboration, and sustainability are more important than ever, one tool is transforming classrooms, libraries, makers...
In today’s digital classroom, educators need more than just basic tools—they need powerful, flexible, and creative platforms that bring lessons to ...
As the school year winds down, schools everywhere are preparing for some of the most exciting events of the year — prom, graduation, and summer STE...
In today’s fast-paced digital world, efficiency is key. Whether you’re managing a small business, organizing events, or simply looking for a way to...

Sophos Firewall: The Ultimate Security Solution for Education Schools face an increasing need for robust cybersecurity in today’s digital landscape...
Take control of your email security today! In today’s digital age, safeguarding your email systems against modern threats is crucial. Symantec Ema...
Google Workspace for Education Plus Edition allows you to unlock endless academic possibilities. With a suite designed to empower schools with adva...
Adobe is offering Creative Cloud for Education Licenses through a new licensing option, the Adobe Creative Cloud Named User K-12 School Site Licens...
In the fast-paced world of small businesses, efficiency and productivity are key. Genesis Technologies would like to present Foxit PDF, a solution ...

In today’s classrooms, a good pair of headphones can seriously strengthen a student’s learning experience. With them, students can listen to lesson...

Nonprofits often face the challenge of managing and securing a growing amount of data. With limited resources, it's crucial to find a cost-effectiv...
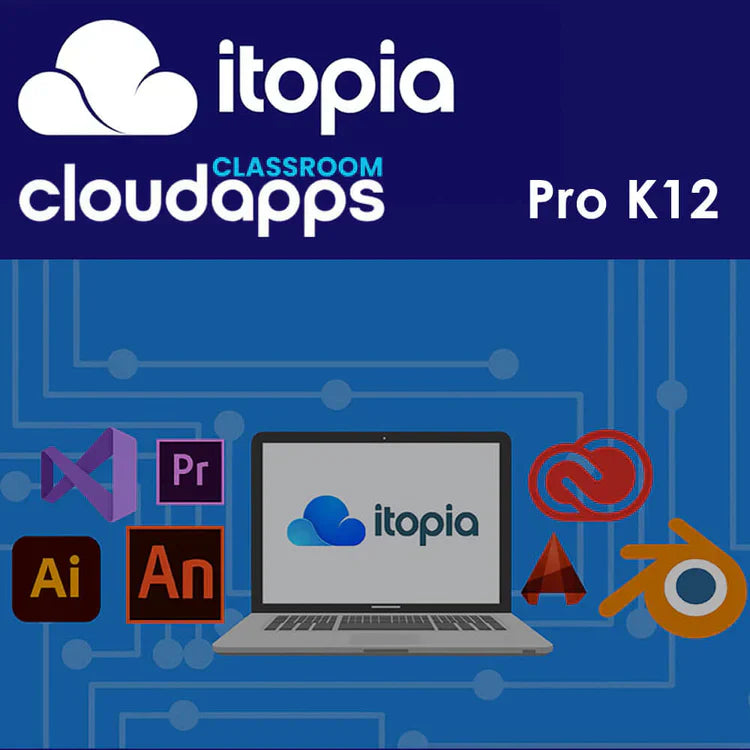
itopia CloudApps Classroom Core K12 offers an affordable, entry-level solution for K12 school districts, providing access to Microsoft Office 365, ...
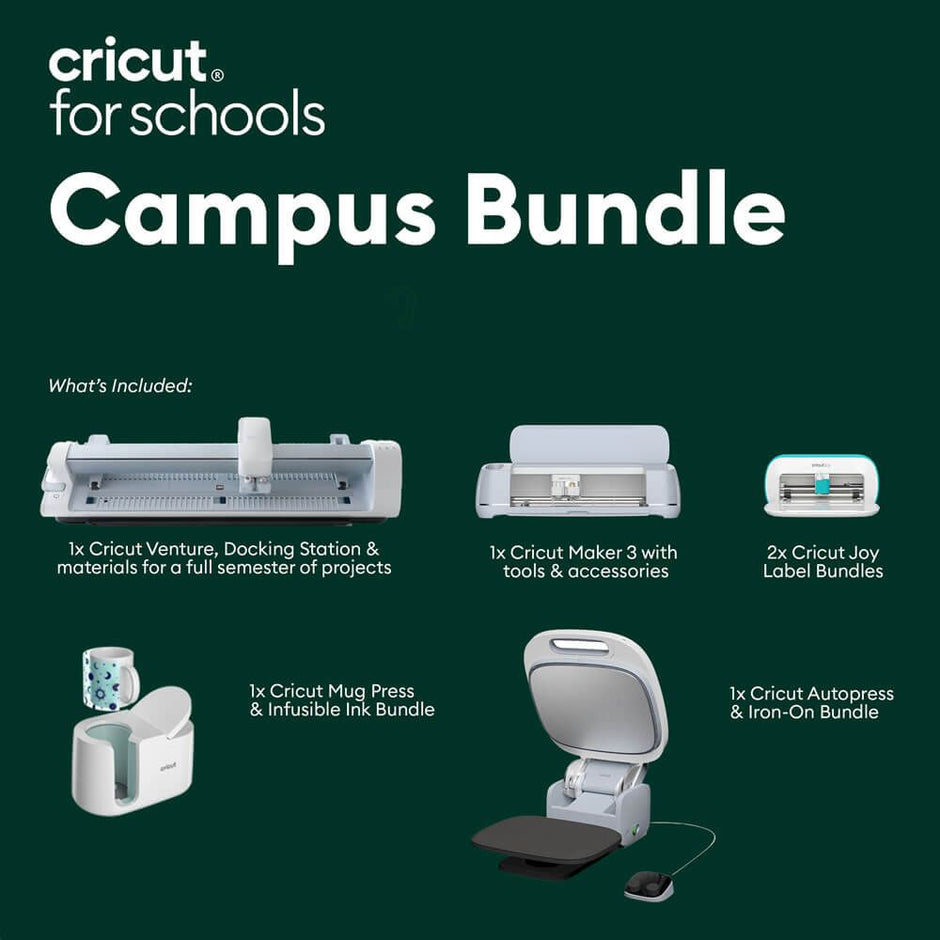
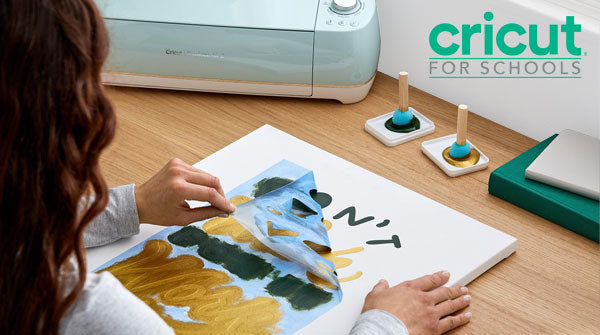
You can give your school a complete, creative overhaul with the Cricut Campus Educator Bundle! This all-in-one package is designed to inspire learn...
As a small business, staying organized, productive, and secure is essential for success. That's where Dropbox, powered by Genesis Technologies, com...

Creativity Meets Productivity Welcome to the world of CorelDRAW Graphics Suite 2024, the ultimate professional graphic design software for both M...

Ensuring that a school’s online learning environment remains safe and productive is pivotal for schools in today's digital age. IMTLazarus is desig...

In today's rapidly advancing world, the importance of coding and robotics education cannot be overstated. One of the most exciting and engaging way...

Are you a student or educator looking to elevate your music composition and notation skills? Look no further than Sibelius Ultimate Music Notation ...

With the Adobe Creative Cloud All-Apps Student License Pack, higher education institutions receive at least 100 Creative Cloud licenses that offer...

Non-profits often work with limited budgets and staff, yet they manage essential documents like donor records, grant applications, and program repo...

Run Full-Featured Windows Applications on Chrome Enterprise Devices—Even Offline! Imagine empowering your users with the full potential of their Ch...

Veeam Backup Solutions for Education: Empowering Institutions with Reliable Data Protection Safeguard Your Educational Data—Anytime, Anywhere! In t...
In today’s digital landscape, safeguarding sensitive information and maintaining robust security protocols are paramount. Microsoft Defender offers...

Introduction Are you a student or educator looking to elevate your design skills? Look no further than Robert McNeel Rhino 8 Academic! This latest ...

Unlock the Future of Learning with Google Gemini Education The education landscape is an ever evolving one and technology plays a pivotal role in s...

Imagine a campus where every student has access to the latest software, enhancing their learning experience and preparing them for future success. ...

Introduction Symantec Endpoint Protection is a cutting-edge security solution that employs signatureless technologies to combat ransomware and othe...

Many schools are unaware that there is a special Adobe Creative Cloud promo aimed at school districts with a student population of 2,500 or less. T...