
Adobe Creative Cloud Licensing: Finding the Right Fit for Your Team
Whether you're running a creative agency, managing a school computer lab, or supporting a nonprofit media team, Adobe Creative Cloud offers licensi...
Whether you're running a creative agency, managing a school computer lab, or supporting a nonprofit media team, Adobe Creative Cloud offers licensi...
As businesses experience more frequent cyberattacks on their workstations and endpoints, Bitdefender GravityZone Defense w/ XDR offers an intuitive...
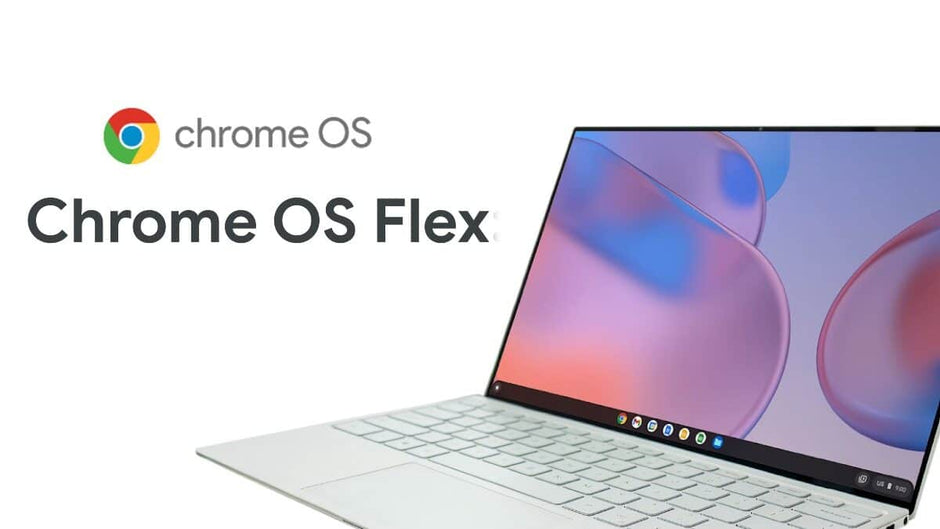
Microsoft will officially end support for Windows 10 soon, and schools everywhere are starting to think about what this means for their technology ...
Dragon Professional Anywhere delivers a faster, more efficient way to capture information in industries where documentation is essential. This clou...
In today’s legal landscape, documentation is both a necessity and a burden. Attorneys and legal professionals spend countless hours drafting contra...

Genesis Technologies – Helping Classrooms Stay Powered and Organized If you’ve ever walked into a classroom at the end of the day, you know the sce...

For organizations that need reliable photo and video editing tools without the complexity or cost of ongoing subscriptions, Adobe’s Photoshop Eleme...
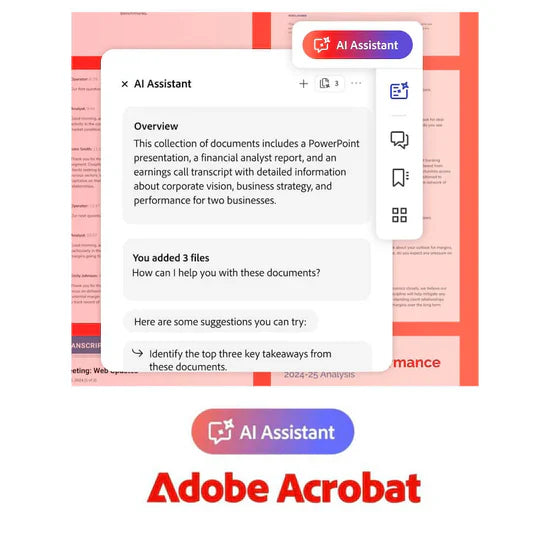
The new AI Assistant add-on for Adobe Acrobat, turns your documents into dynamic collaborators. Ask questions directly within your PDFs and receive...
Google has announced major updates to Google Workspace for Education that will take effect starting October 1, 2025. These changes will impact scho...
Choosing the right Microsoft 365 plan can make a meaningful difference in how your team works—and how well your Non-Profit stays protected. With mo...

From admissions to academics, higher education institutions rely on efficient, secure document workflows. Adobe Acrobat Pro helps schools simplify ...
When managing IT infrastructure, choosing the right licensing model can make a big difference in cost, control, and flexibility. For many schools, ...
Everybody loves Minecraft. That’s why it’s the bestselling game of all time. With its game-based learning platform that currently supports educator...

In a world where creativity, collaboration, and sustainability are more important than ever, one tool is transforming classrooms, libraries, makers...
In today’s digital classroom, educators need more than just basic tools—they need powerful, flexible, and creative platforms that bring lessons to ...
As the school year winds down, schools everywhere are preparing for some of the most exciting events of the year — prom, graduation, and summer STE...
In today’s fast-paced digital world, efficiency is key. Whether you’re managing a small business, organizing events, or simply looking for a way to...

Sophos Firewall: The Ultimate Security Solution for Education Schools face an increasing need for robust cybersecurity in today’s digital landscape...

Take control of your email security today! In today’s digital age, safeguarding your email systems against modern threats is crucial. Symantec Ema...
Google Workspace for Education Plus Edition allows you to unlock endless academic possibilities. With a suite designed to empower schools with adva...
Adobe is offering Creative Cloud for Education Licenses through a new licensing option, the Adobe Creative Cloud Named User K-12 School Site Licens...

In the fast-paced world of small businesses, efficiency and productivity are key. Genesis Technologies would like to present Foxit PDF, a solution ...

In today’s classrooms, a good pair of headphones can seriously strengthen a student’s learning experience. With them, students can listen to lesson...

Nonprofits often face the challenge of managing and securing a growing amount of data. With limited resources, it's crucial to find a cost-effectiv...
itopia CloudApps Classroom Core K12 offers an affordable, entry-level solution for K12 school districts, providing access to Microsoft Office 365, ...
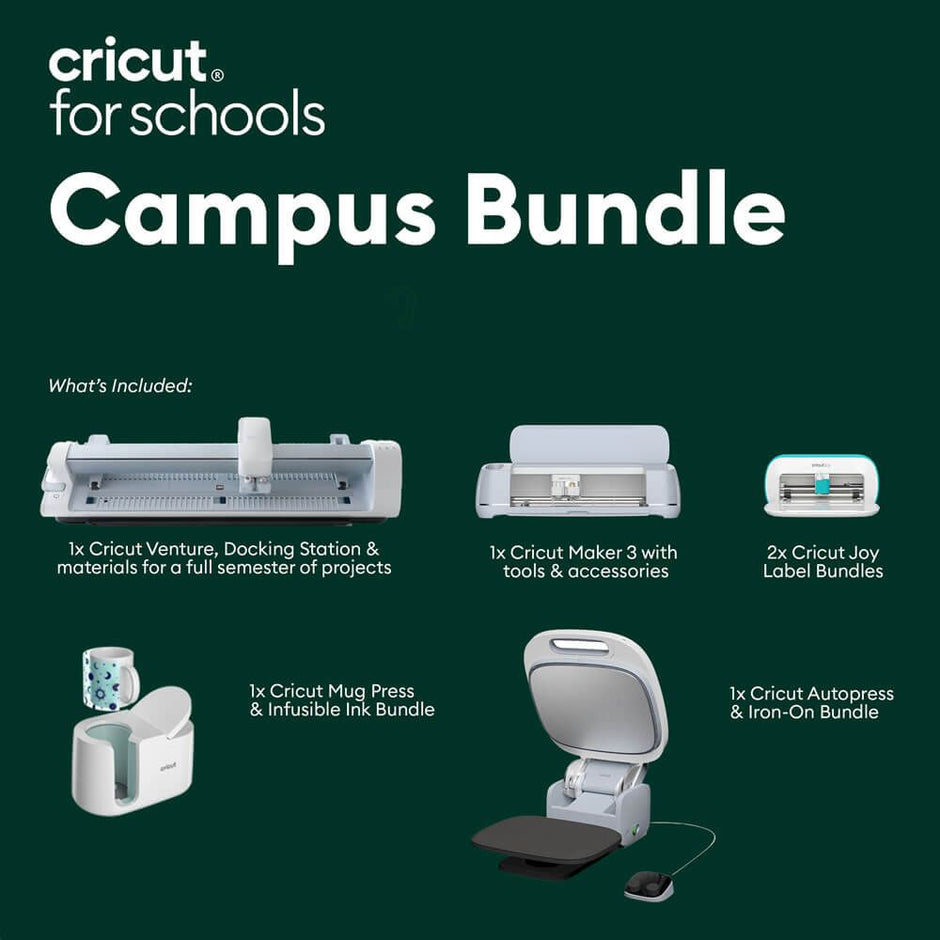
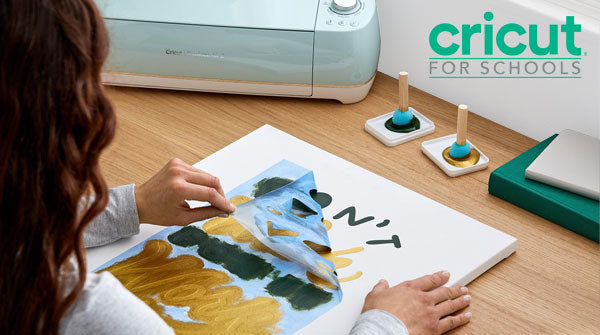
You can give your school a complete, creative overhaul with the Cricut Campus Educator Bundle! This all-in-one package is designed to inspire learn...
As a small business, staying organized, productive, and secure is essential for success. That's where Dropbox, powered by Genesis Technologies, com...

Creativity Meets Productivity Welcome to the world of CorelDRAW Graphics Suite 2024, the ultimate professional graphic design software for both M...

Ensuring that a school’s online learning environment remains safe and productive is pivotal for schools in today's digital age. IMTLazarus is desig...

In today's rapidly advancing world, the importance of coding and robotics education cannot be overstated. One of the most exciting and engaging way...